Infosmart Router Admin Login Setup: We have heard about different brands across the router industry but having said that, Infosmart might be a small name but worth every penny you spend with them. It is more of an elite brand in the industry of Computer networking and products which has very much improved over time.
They are spread in the eastern countries mostly and have focused on creating products with robust features. We are going to learn how you can setup the Infosmart router from the scratch and for that make sure that the hardware setup is done properly.

How to Setup Infosmart Router – Infosmart Router Configuration Guide
The hardware setup such as cable connections from ethernet cable to Router and the power supply, along with ethernet connection from the router to the laptop or computer should be made perfectly.
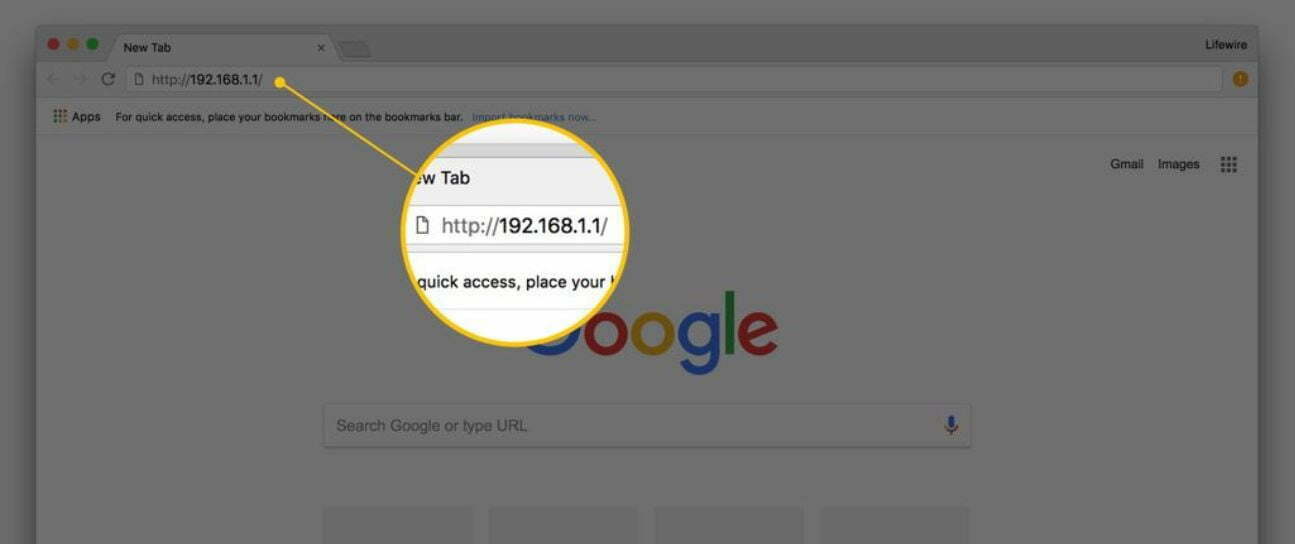
- Step 1: The first step is to open the IP address 192.168.1.1 into the address bar of one of the routers. Once the IP address is entered, then simply click on the go button or enter to continue.
- Step 2: Then a popup with login will be shown on the page and you have to enter your username, password here. In case of any router from Infosmart brand, you have to use the same details, which are admin and admin.
- Step 3: Then click on the login button and now you will be given access to the admin panel in a couple of minutes.
It might be a different interface than the other router brands but with the below instructions you will be able to setup the router.
WiFi Settings: From the top of the menu you have to click on the Settings button and from the left sidebar, select “WiFi’ and then under the “Settings WiFi” these settings should be done.
- SSID: This will be your router network name, which you can enter as per your preference
- 802.11 Mode: Select 11bgn here from the given drop-down options
- Tx Power: This should be “High” and make sure to select this from the drop-down menu
- Wireless Security: Here you have to select the ‘WPA/WPA2-PSK mixed” option from the drop-down menu
- Wireless Encryption Type: Select “AES” from the drop-down menu
- Security Key: This will be your router network password and this should be at least 8 characters long/
- Channel Mode: This should be Automatic
- Sleep Mode: Select “Enable” because it will save power
- Sleep Mode Timer: Select “10” which is the highest number
- SSID Broadcast: This should also be selected as “Enable”
- WiFi on/off: This should be selected “Enable”
- WPS on/off: Select this as “Enable” as well and once the settings are done as per the instructions given, simply click on the Apply button.

WPS Settings: Under this, you can see that there is an option “WPS” and from the drop-down menu you have to select “PushButton” and then click on the “WPS Connect” here.
In this way, you will be able to configure the Infosmart router properly and one of the key aspects of enabling wireless connection is done smoothly.
What is the Default IP for Infosmart Router Admin Login?
The Infosmart Router has designated 192.168.1.1 as their Wifi Infosmart Router Default Login IP address for accessing the admin panel, and they have kept the default IP in their user guides and on the Infosmart Router.
What is the Default Username for Infosmart Router Admin Login?
The Infosmart Router Admin Username is ‘admin’ for entering into the Infosmart Router Admin Panel, and the default admin username can be changed by the admin.
What is the Default Password for Infosmart Router Admin Login?
The default admin Password may be created by admin, and the Infosmart Router Admin password is ‘admin’ for logging into the Infosmart Router Admin Panel.
How do I change/Reset the admin username or password of Infosmart Router device?
The only way to gain access to the web management system if the none password is lost or forgotten is to reset the Infosmart Router settings to factory defaults. To reset the password, the user must push and hold the reset button for at least 20 seconds.