IronPort Router Setup: A California based company which is well known for being one of the finest Web security and product management companies in the United States. They focused on all types of products that are to be sold in the market from the enterprise to the basic level for every user. In this quest of finding a better product, their series of routers turned out to be of good performance in terms of sales, features and the brand market value increased as well.
One of the important things you will have to know is that IronPort has now become a part of Cisco which means, all the new product launches under this brand will now be under Cisco.
How to Configure IronPort Router – IronPort Router Setup Guide
So you might be confused as to how the configuration process would work since IronPort is now a part of Cisco. Do not worry because both of them share the same IP address for login and the interface has been updated to what Cisco is using for all other routers, which will make it easier for you to understand the configuration process.
Admin Panel Access Process: Before you set out to configure or setup up the router, you will have to log in to the admin panel which is shown in the below steps.
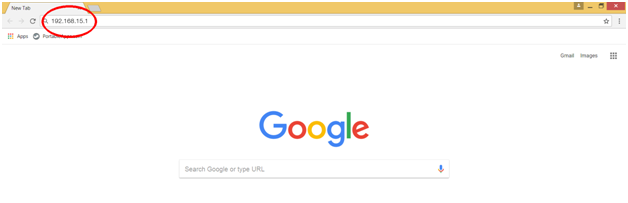
- First enter the IP address 192.168.15.1 in the selected browser’s address bar either by typing or copy/paste
- Once done, a popup will appear which will ask for the login credentials to be filled and the username is “admin” and the password is “ironport”
- Enter both the details and then click on the login button which will give you access to the IronPort admin panel!
- Note: If the password does not work, then use the password as “admin” as well, since this might differ from router to router
Internal Configuration Guide: We have access to the admin panel now, which means we can now set towards the main setup and the configuration process directly.
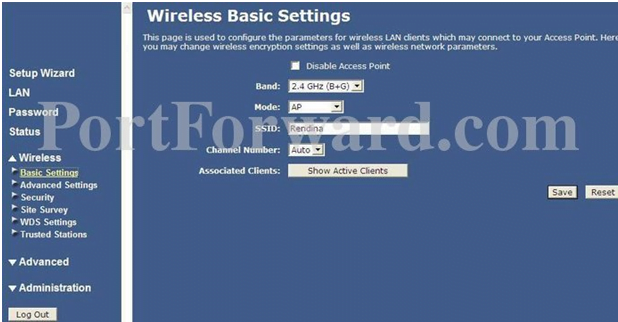
- Wireless Basic Settings Setup: From the left sidebar, select this option “Basic Settings” under the Wireless section and make the necessary changes.
- Band: 2.4 GHz (B+G)
- Mode: AP
- SSID: You can enter any name here and this will be your router network name
- Channel Number: Auto
- Associated Clients: Do not click on this option and then click on the Save button to continue.
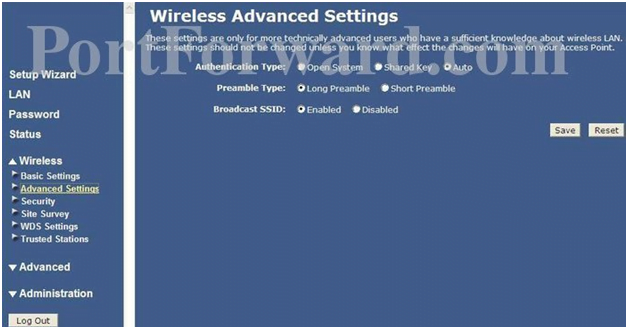
- Wireless Advanced Settings: Again from the left sidebar, select the option “Advanced Settings” and then make sure to select the below changes.
- Authentication Type: Select “Auto”
- Preamble Type: Select ‘Long Preamble”
- Broadcast SSID: Select the “Enabled” option and then click on the Save button at the bottom right corner
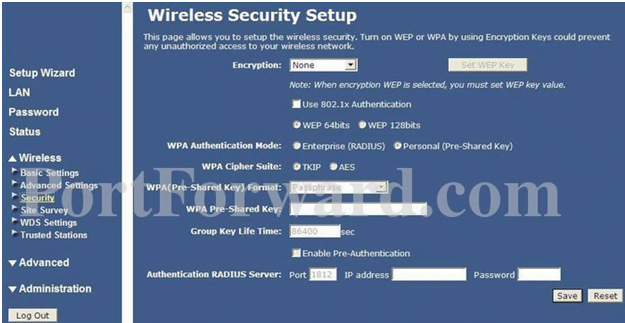
- Wireless Security Setup: Go to the “Security” option under the wireless section and make the changes as below.
- Encryption: Select the “WPA-PSK2” option from the drop-down menu
- WPA Authentication Mode: Select “Personal (Pre-Shared Key)”
- WPA Cipher Suite: Select the “AES” option here
- WPA (Pre – Shared Key) Formal: You can select type of password, mostly select “Passphrase”
- WPA Pre-Shared Key: Enter your password here
- Group Key LifeTime: Enter “66400” and finally click on the save button for one last time and the settings will be saved.
What is the Default IP for IronPort Router Login?
The IronPort Router has designated 192.168.15.1 as their Wifi IronPort Router Default Login IP address for accessing the admin panel, and they have kept the default IP in their user guides and on the IronPort Router.
What is the Default Username for IronPort Router Login?
The IronPort Router Username is ‘admin’ for entering into the IronPort Router Panel, and the default admin username can be changed by the admin.
What is the Default Password for IronPort Router Login?
The IronPort Router password is ‘ironport’ for entering into the IronPort Router Panel, and the default admin password can be changed by the admin. If the password does not work, then use the password as “admin”.
How do I configuration of IronPort Router device?
If the administrator password is lost or forgotten, the only method to get access to the web management system is to reset the IronPort Router configuration to factory defaults. Users can press and hold the reset button for at least 20 seconds to reset the password.