Giga Router Admin Full Setup: So the brand which we are talking about is Gigabyte and many people call it Giga in short form. But both the names are the same and this is considered to be one of the finest router service providers in the whole world.
Commonly also called GigaByte by others and this brand does not only provide a varied router that performs really well, but it serves in all computer hardware and networking aspects and branches as well.
They are into product development for laptop and many other gadgets as well with the production of motherboards for computers, laptops, and different gadgets have been their primary success. But after the release of the Giga routers from their end, they have received exceptional reviews which is why we would like to discuss more these routers and the way to help you understand the configuration process.
How to Setup Giga Router – GigaByte Router Configuration Guide
Since this is a huge brand, the way to configure the router is going to be quite simple and easy to follow as well. But you need to make sure that the hardware connections are set properly and then lastly the router should be reset if you are using an old router.
- The Giga router internal IP address is 192.168.1.254 and you need to enter this IP address into the address bar of the browser
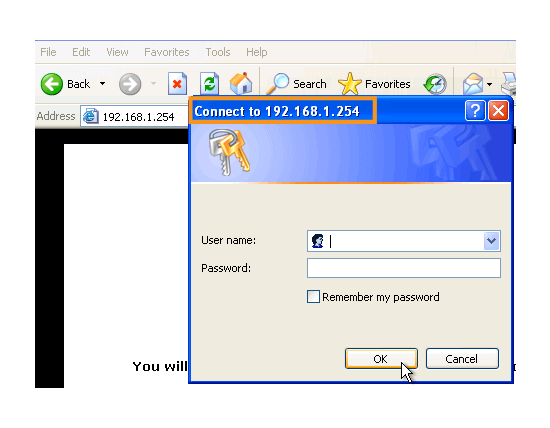
- Next, we will need to enter the username as admin and the password will also be admin, then click on the login button
In this way, you will be able to access the admin panel for the Giga router directly and then follow the instructions below to configure the router.
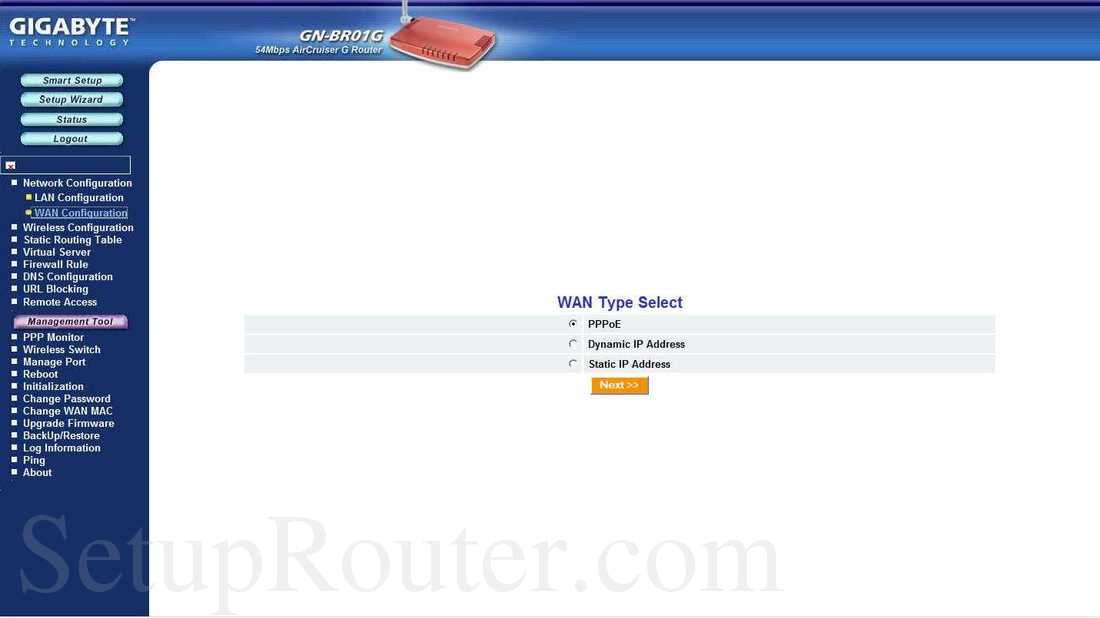
- Go to the “Network Configuration” section and under this select “WAN Configuration”
- We need to select “WAN Type Select”
- Under this you will have to select “PPPoE”, then click on the Next button
- After that, you will be asked to enter the router password again for confirmation and click on the save button for enabling the wireless connection over PPPoE
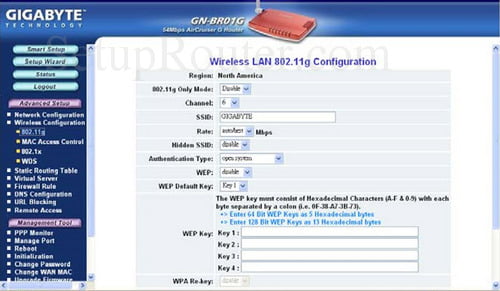
- Under the Giga router admin panel, then go to the “Advanced Setup” and then click on the “Wireless Configuration” and make the below changes as instructed.
- Region: This will be based on your location
- 802.11g Only Mode: Select “Double” from the drop-down menu
- SSID: As you already know this is the “Router Name” and you can enter your preferred name here
- Rate: You can select your preferred speed
- WEP Default Key: Here select “Key 1” and this will be the password key which we will enter under the WEP Key section below
- WEP Key: Under this section, we can enter multiple passwords and since we’ve selected Key 1 above. Then here go to Key 1 and enter the password you want to use.
Now the last piece would be to make sure the settings have been saved and finally click on the Save button to do it. Now we have configured the Giga Router and also note that this guide will work for all other models under this brand as well.
Default Username and Password for Gigabyte Router Admin Login Password Change in Model Wide
| Brand | Model | Protocol | Username | Password |
|---|---|---|---|---|
| GIGA | 8IPPRO1000 | MULTI | Administrator | admin |
What is the Default IP for Gigabyte Router Admin Login?
The Gigabyte Router has designated 192.168.11.1 as their Wifi Gigabyte Router Default Login IP address for accessing the admin panel, and they have kept the default IP in their user guides and on the Gigabyte Router.
What is the Default Username for Gigabyte Router Admin Login?
The Gigabyte Router Admin Username is ‘admin’ for entering into the Gigabyte Router Admin Panel, and the default admin username can be changed by the admin
What is the Default Password for Gigabyte Router Admin Login?
The default admin Password may be created by admin, and the Gigabyte Router Admin password is ‘admin’ for logging into the Gigabyte Router Admin Panel.
How do I change/Reset the admin username or password of Gigabyte Router device?
If the administrator password is lost or forgotten, the only method to get access to the web management system is to reset the Gigabyte Router configuration to factory defaults. Users can press and hold the reset button for at least 20 seconds to reset the password.