Milan Router Admin Setup: Milan is a router company in Europe which might not be famous all across the world but is well known for creating really robust and speed performance based routers. Another thing that these router models are known for is for their model style and how they look as well. Even the prices are low which makes them really good to use but they are not widely spread but it does not mean that their fanbase is not huge.
Milan MIL-SM801P is one of their classic router models which has been really liked by the customers and the other models under this brand have the same interface and even the configuration process. That is why we are going to use this model in order to show the complete configuration process for Milan router in this article.
How to Configure Milan Router – Milan Router setup process
Milan router models are pretty easy to follow through because they have a simple user interface even for the login and then for the configuration process as well. But before we will get to understand how you can log into the admin panel from the below steps.
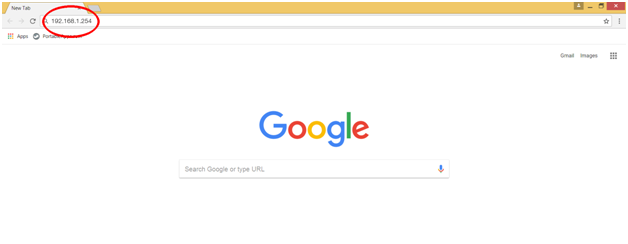
- Step 1: Simply open a browser, then enter the internal IP address for Milan router which is 192.168.1.254 and then press on the enter or the go button
- Step 2: Once clicked on those buttons, you will see the login popup that will appear on the same tab and here you will have to enter the username and the password.
- Step 3: The username and the password both are root which you have to type in or copy/paste into the required login boxes. Once done, click on the login button and this will now give you access to the Milan router admin panel.
Router Wireless Configuration & Internal Settings
Every router has a set of configuration steps which might seem easy at first but these needs clear understanding which you can get by following the below instructions.
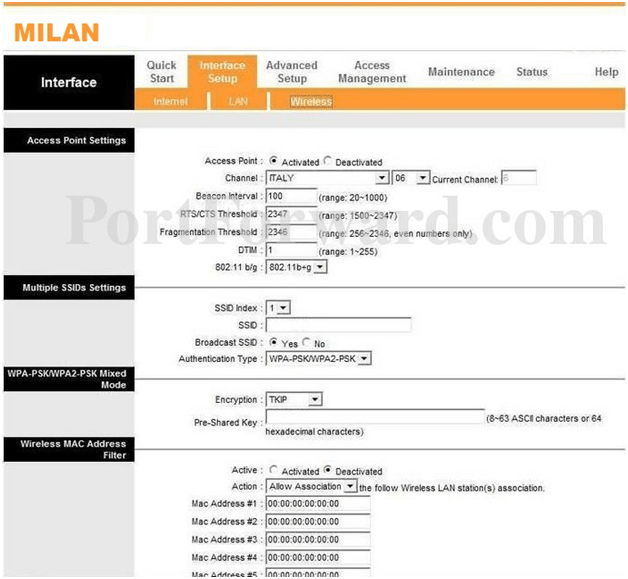
Wireless Settings: The main setup to be done is configuration to enable the wireless connection and in order to do so, click on the Interface Setup option from the top menu section. Then click on Wireless option and on this page you have to make the changes as per the below instructions.
- Access Point: Select “Activated” option here
- Channel: Select your country from the options
- Beacon Interval: Enter “100” here
- RTS/CTS Threshold: Enter “2347” here
- Fragmentation Threshold: Enter “2346” here
- DTM: Enter “1” here
- 802.11b/g: Select “802 11b+g” option here
- SSID Index: Select “1” option here
- SSID: Enter your router’s network name here and this can be a combination of alphabets, numericals and even special characters
- Broadcast SSID: Select “Yes” option here
- Authentication Type: Select “WPA-PSK/WPA2-PSK” option here
- Encryption: Select “TKIP” option here
- Pre-Shared Key: Enter your router network’s password here and this should be at least 8 characters long.
- Under Wireless MAC Address FIlter, Active: Select “Deactivated” option here and click on save button
Now that you have followed all the steps, the Milan router will be configured completely and make sure that the settings are saved properly for them to take place.
What is the Default IP for Milan Router admin Login?
The Milan Router has defined their Wifi Milan Router Default Login IP address 192.168.1.254 to login the netadmin panel, and they have maintained the default IP at their user manuals along with stick a label on the Milan Router.
What is the Default Username for Milan Router admin Login?
The defaults admin username may be created by the admin, and the Milan Router admin Username is ‘superuser’ for logging into the Milan Router admin Panel
What is the Default Password for Milan Router admin Login?
The default admin Password may be created by admin, and the Milan Router admin password is ‘123456’ for logging into the Milan Router admin Panel.
How do I change/Reset the admin username or password of Milan Router device?
If the admin password is lost or forgotten, the only method to get access to the web management system is to reset the Milan Router configuration to factory defaults. Users can press and hold the reset button for at least 20 seconds to reset the password.