Juniper Router Login: We have seen brands that are either into the market for Router products while some are alongside different services. Here we have Juniper which is a brand that excels in different products alongside routers as well and one key reason is that they try to cross-sell their service all across the web. Their reach towards the fans all across the world has been amazing, the key feature being them promoting their products basically everywhere with fans buying them as well because the product has such amazing features and they are also cost-effective when you look at them.
Juniper is actually well known as Juniper Networks, as the name suggests they deal with different networking and computer related solutions. Today we are going to review their router, and the steps include how you will be able to configure them.
Find out How to Setup Juniper Routers – Configuration Guide
Before you start going through the below steps, make sure that the hardware setup is done properly and then you can follow the instructions below without any problem.
- The first step for you to do is open your browser, then go to the address bar and type the IP address 192.168.2.1 and click on the enter button
- Then wait as the login page will load and you will have to enter the username and the password in it. Once done, click on the login button and you will have to wait as the admin panel will now start loading slowly.
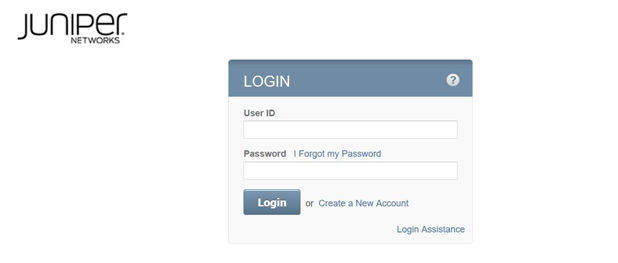
- Finally you now have access to the Juniper networks admin panel through which you will be able to configure the router precisely.
Internal Configuration for Setup of Juniper Networks Router
We have access to the admin panel now, so let us go ahead with the router configuration as shown in the below settings.
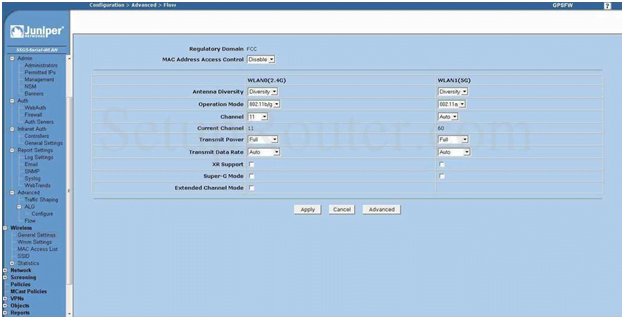
- On the left sidebar click on the Wireless section and when you expand it you will find yourself Basic settings on this page you have to make the below said changes.
- Enable Wireless: Here select the “Enable” option that will enable the wireless connection
- Type of network: Select the “WPA-PSK” option from the drop-down menu
- SSID: This is your router network name and you can enter any name here as per your preference
- Channel Width: Enter “1” here
- Channel Type: Select the “Auto” option here from the drop-down menu
- Once the changes are made, simply click on the Save button to continue.
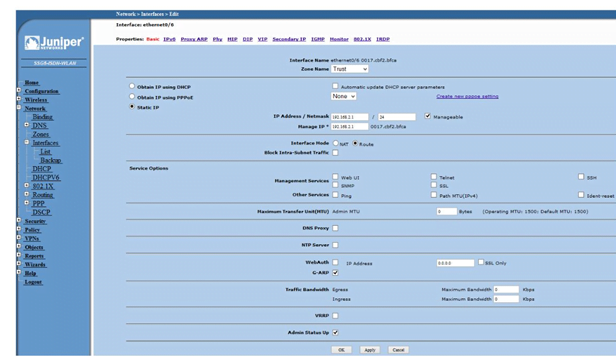
- Now go to Network from the left sidebar and then under this select “Interfaces” and click on the edit option here
- Enter the Zone Name: Select “Trust” here
- Static IP: Select this option and under this, you do not have to edit any of the sub-options, as they will automatically populate
- Interface Mode: Select the “Router” option here
- Service Options: Do not select any of the options from this
- G-ARP: Select this option
- Admin Status Up: Also select this option and then click on the apply button to continue.
In this way, you will be able to configure the Juniper router from very scratch and will now have set up the wireless control over it as well.
What is the Default IP for Juniper Router Login?
The Juniper Router has defined their Wifi Juniper Router Default Login IP address 192.168.2.1 to login the admin panel, and they have maintained the default IP at their user manuals along with stick a label on the Juniper Router.
What is the Default Username for Juniper Router Login?
The default admin username may be created by the admin, and the Juniper Router Username is ‘netscreen’ for logging into the Juniper Router Panel.
What is the Default Password for Juniper Router Login?
The default admin Password may be created by the admin, and the Juniper Router password is ‘netscreen’ for logging into the Juniper Router Panel.
How do I configuration of Juniper Router device?
If the administrator password is lost or forgotten, the only method to get access to the web management system is to reset the Juniper Router configuration to factory defaults. Users can press and hold the reset button for at least 20 seconds to reset the password.