iPSTAR Router Admin Setup Are you a fan of faster Internet connection, then you might have heard about this brand iPSTAR which is well known for being the best broadband service for Australia. Yes, it is a broadband company that is mainly focused on providing Internet to companies and households all across Australia but they also focus on creating routers that the users can use at the same time. The main reason has been to provide a better service along with a better gadget that allows them to make full use of the broadband connection at all times of the day.
Today we will go over the router configuration process for the iPSTAR brand which can be followed by someone who has bought their router recently or want to reset a new one to set it up from scratch as well.
Find out how to setup iPSTAR Router – iPSTAR Router Configuration Process
IP Login Process: The first step is to open the Internal IP address of the iPSTAR router brand on your browser.
- Open your browser and then type the IP address 192.168.5.100 correctly
- After that click on the enter button or else you can even click on the go button from the browser directly
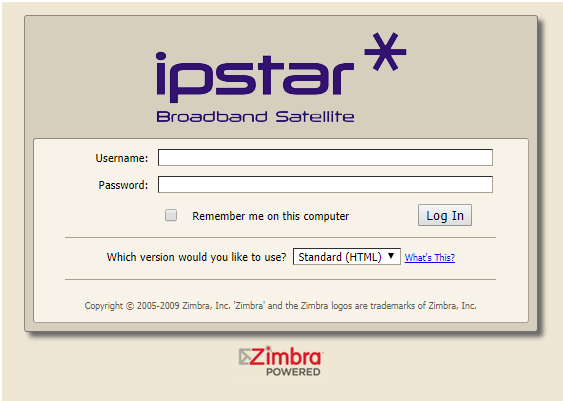
- Suddenly you will have the router login page show up on the same tab and here you have to enter login information
- The username is “ADMIN” and the password is “operator” which once entered, then click on the login button to continue loading the admin panel!
Networking Connection Setup
iPSTAR is a different service because they have their own router and a customer interface with a different setup process as shown below in the steps.
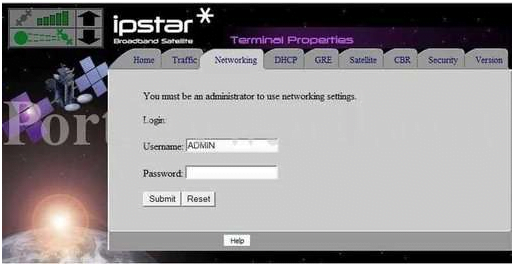
- First, you have to go to the “Networking” option from the top menu, and under this, you will be asked to enter the login information again
- Here enter the username as “ADMIN” and the password as “operator”, then click on the submit button
- After that, you will have total access to the Networking page through which you will be able to set up the Internet and wireless networking in no time.
- Under the Interfaces, you will have to click on the “Ethernet Link” and then it will reload to a new page where you have to make the below settings as required.
- Wireless Connection: Select the enable option here
- SSID: Here you have to enter your router network name, this can be as per your preference
- Passkey Type: This is the type of password you want to have, select the “WPA-PSK2” option from the drop-down menu
- Passkey: Now, you can enter your password here and also make sure that this has to be at least 8 characters long or else it will not be accepted.
- Click on the save button and go back to the Networking page
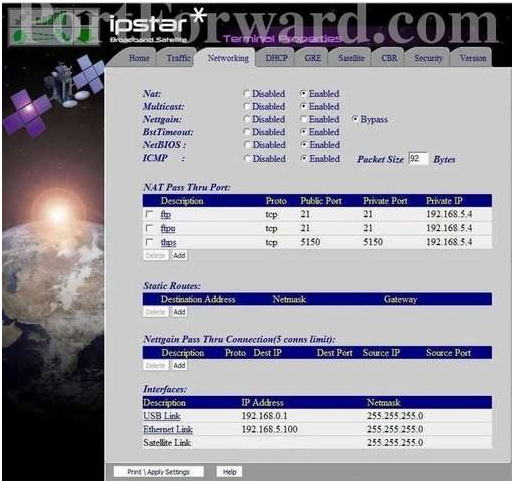
- Under “Pass Thru Port Properties”, click on the Add new button and port properties such as below so the Internet connection works.
- Description: This can be added as per your preference
- Protocol: Select “tcp” option here from the drop-down menu
- Public Port: this will be “0”
- Private Port: this will be “0”
- Private IP: Do not make a change here and then simply click on the add button to finish the setup.
What is the Default IP for iPSTAR Router Login?
The iPSTAR Router has designated 192.168.5.100 as their Wifi iPSTAR Router Default Login IP address for accessing the admin panel, and they have kept the default IP in their user guides and on the iPSTAR Router.
What is the Default Username for iPSTAR Router Login?
The iPSTAR Router Username is ‘ADMIN’ for entering into the iPSTAR Router Panel, and the default admin username can be changed by the admin.
What is the Default Password for iPSTAR Router Login?
The iPSTAR Router password is ‘operator’ for entering into the iPSTAR Router Panel, and the default admin password can be changed by the admin.
How do I configuration of iPSTAR Router device?
If the administrator password is lost or forgotten, the only method to get access to the web management system is to reset the iPSTAR Router configuration to factory defaults. Users can press and hold the reset button for at least 20 seconds to reset the password.