192.168.1.254 2Wire Router Admin Setup: 2Wire was a leading Computer and network manufacturing brand in the United States which ran between 1998 to 2010 and was later sold to Pace plc of the United Kingdom. There is a lot of router and computer network solutions across the United States and one of the reasons why 2Wire has become majorly famous is due to widespread home portal and residential router services which were easy to assemble and more convenient as well.
Another big news is that recently ARRIS has acquired the 2Wire brand and has made major changes to turning all the new product gateways to their own cable broadband service or ethernet gateway services.
The 2Wire company has released a lot of Home Portal routers which are now widespread across the United States that are used not just at homes but at different offices as well. There are a lot of 2Wire routers across the globe and today we are going to show you how you can setup a 2Wire router very easily with all the basic instructions required to do so.

How to Setup 2Wire Router – 2Wire Router Setup Process
Every router that you buy has to be set up beforehand you make use of it or else it won’t be useful even after plugging in the ethernet cable. One good thing about 2Wire is that they have a great platform for setting up new routers which one would need at all times. As every brand and router service has its own IP address that is allocated to its routers, even 2Wire has a separate IP address entity which is 192.168.1.254
First, you need to connect 2Wire router to the power source and attach ethernet cable to it, while liking the main way back ethernet cable to your main computer to initially change the router settings such as password and login details for Wi-Fi access.

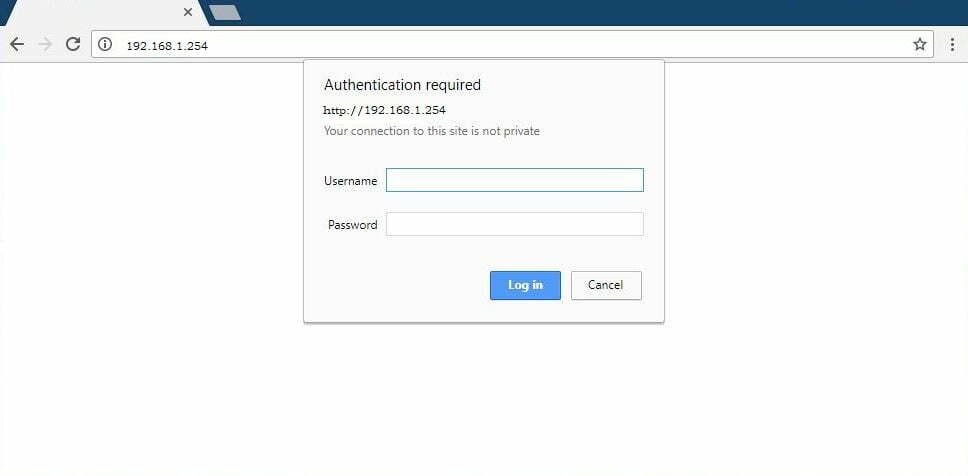
- The first step will be for you to enter 192.168.1.254 IP address in the search bar of the browser once the router is manually setup
- Then a popup will appear asking for “Authentication Required” where you have to enter User name and Password for the 2Wire router
Default login details for all 2Wire routers are given below
| Brand | Model | Protocol | Username | Password |
|---|---|---|---|---|
| 2WIRE | HOMEPORTAL Rev. SBC YAHOO! DSL | (none) | 2Wire | (none) |
| 2WIRE | ALL WIFI ROUTERS | HTTP | (none) | Wireless |

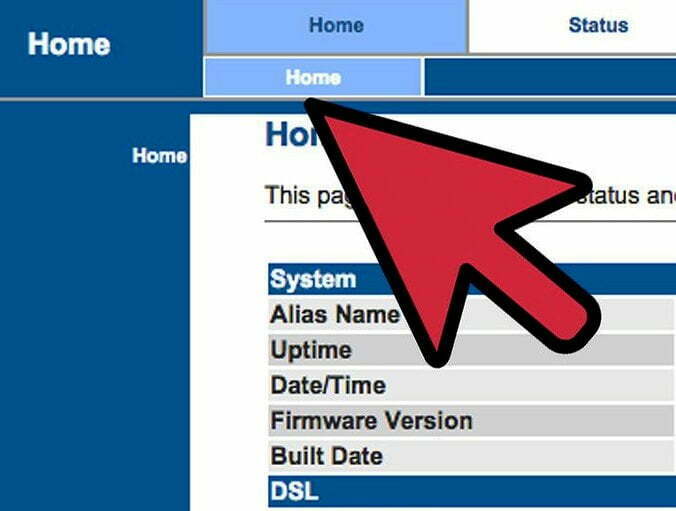
- After entering the correct login details, you will now be on the 2Wire router login page where you have to click on the Home button to access the settings page

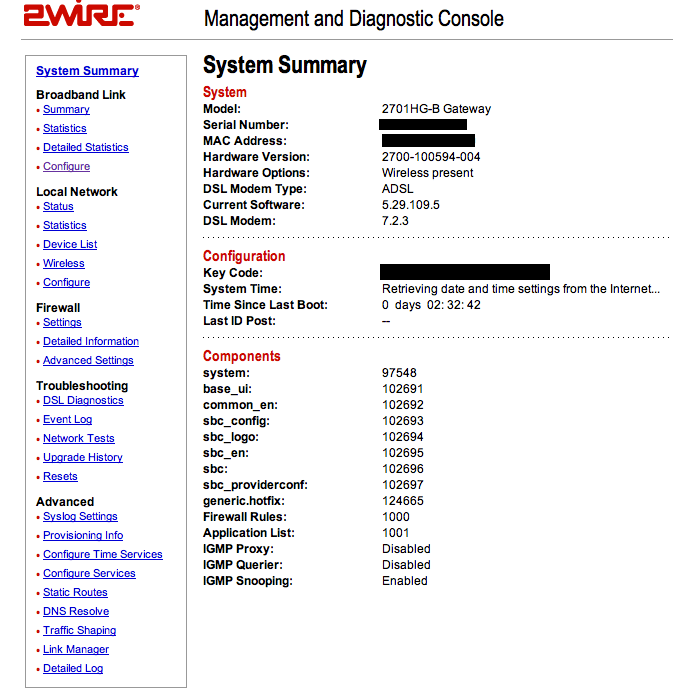
- On the settings page, you have to enable and proceed with the following steps
- Enable Wireless Interface: Click on the checkbox to mark Default: Enabled
- Next under Network Name (SSID) select the type of router which you can select from the dropdown
- Wireless Security: Check this box and setup a password for your Wi-Fi
- Authentication Type: There are 5 settings out of which we suggest you use WPA2-PSK settings from the dropdown
Finally, click on the Save button and now you have successfully completed setting up your new 2Wire router!
What is the Default IP for 2Wire Router Admin Login?
The Wire Router has defined their Wifi Wire Router Default Login IP address 192.168.1.254 to login the admin panel, and they have maintained the default IP at their user manuals along with stick a label on the Wire Router.
What is the Default Username for 2Wire Router Admin Login?
The default admin username may be created by the admin, and the 2Wire Router Admin Username is ‘blank’ for logging into the 2Wire Router Admin Panel.
What is the Default Password for 2Wire Router Admin Login?
The 2Wire Router Admin password is ‘NOLOGIN’ for entering into the 2Wire Router Admin Panel, and the default admin password can be changed by admin.
How do I change/Reset the admin username or password of 2Wire Router device?
The only way to gain access to the web management system if the administrator password is lost or forgotten is to reset the 2Wire Router settings to factory defaults. To reset the password, the user must push and hold the reset button for at least 20 seconds.